
In this article we will learn how to install developer tool to get started with LWC development. It’s a well-known fact that LWC development is not possible in developer org, so we need to setup VS code and from there we can deploy the code to our org once we setup the developer environment.
In this article we will learn and implement the below steps to get started with:
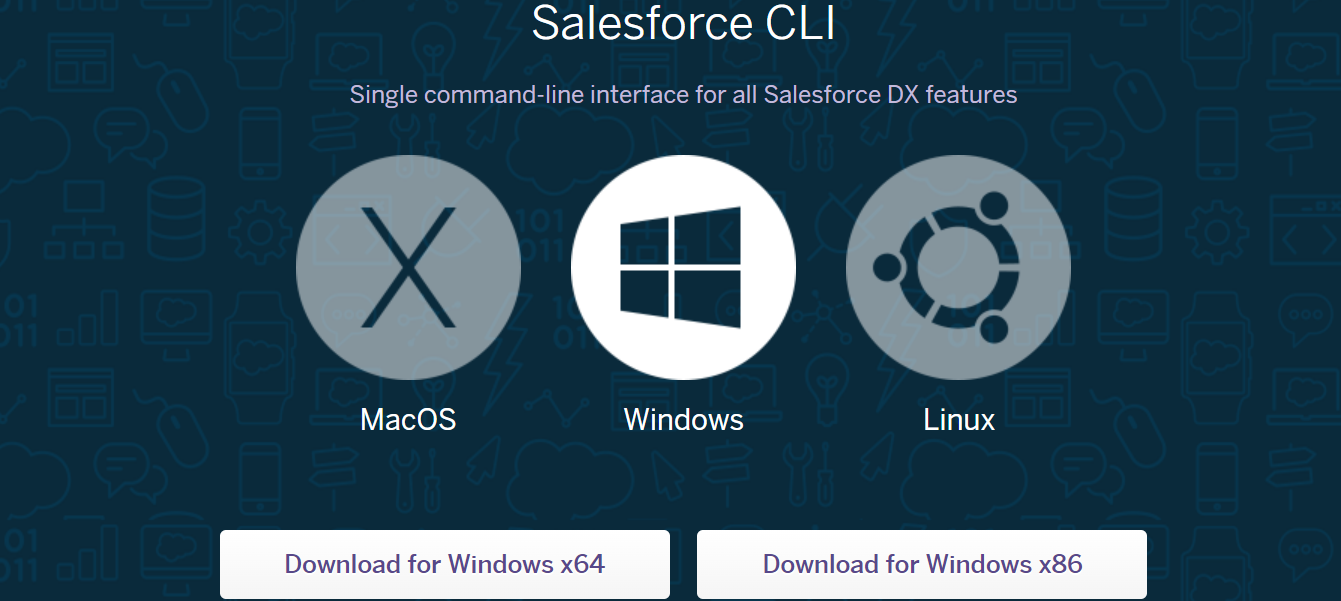
Step 1:- Install Salesforce CLI
Install Salesforce CLI- Install
Salesforce CLI is a command-line interface that allows developers to build and manage Salesforce applications from the command line
Usage of CLI:
Developing and managing Salesforce applications: You can use Salesforce CLI to create, edit, and test various components of your application, such as Apex code, Lightning components, and Visualforce pages.
Deploying code: Salesforce CLI provides commands for deploying code changes to your org or to other environments, such as sandbox orgs or production.
Managing org configuration: You can use Salesforce CLI to retrieve and modify org configuration data, such as custom fields, user permissions, and workflow rules.
Testing: Salesforce CLI provides commands for running unit tests and verifying the results.
Integration with version control systems: Salesforce CLI can be used with version control systems such as Git to track and manage code changes.
Collaboration: Salesforce CLI can be used to share code changes and collaborate with other developers on your team.
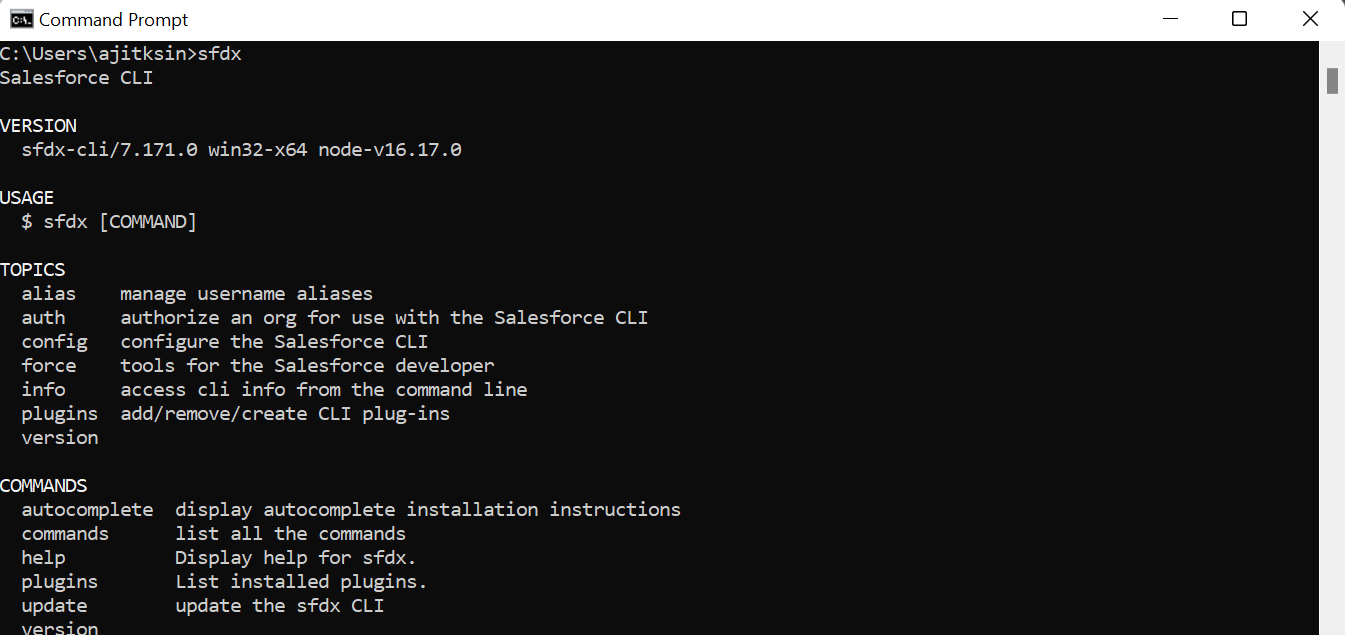
To make sure, CLI is properly installed, we will type sfdx on command prompt:
Step 2:- Install JDK
VS Code is compatible with Java version-8 or the latest version 11.
Java 8- Download
Java 11- Download
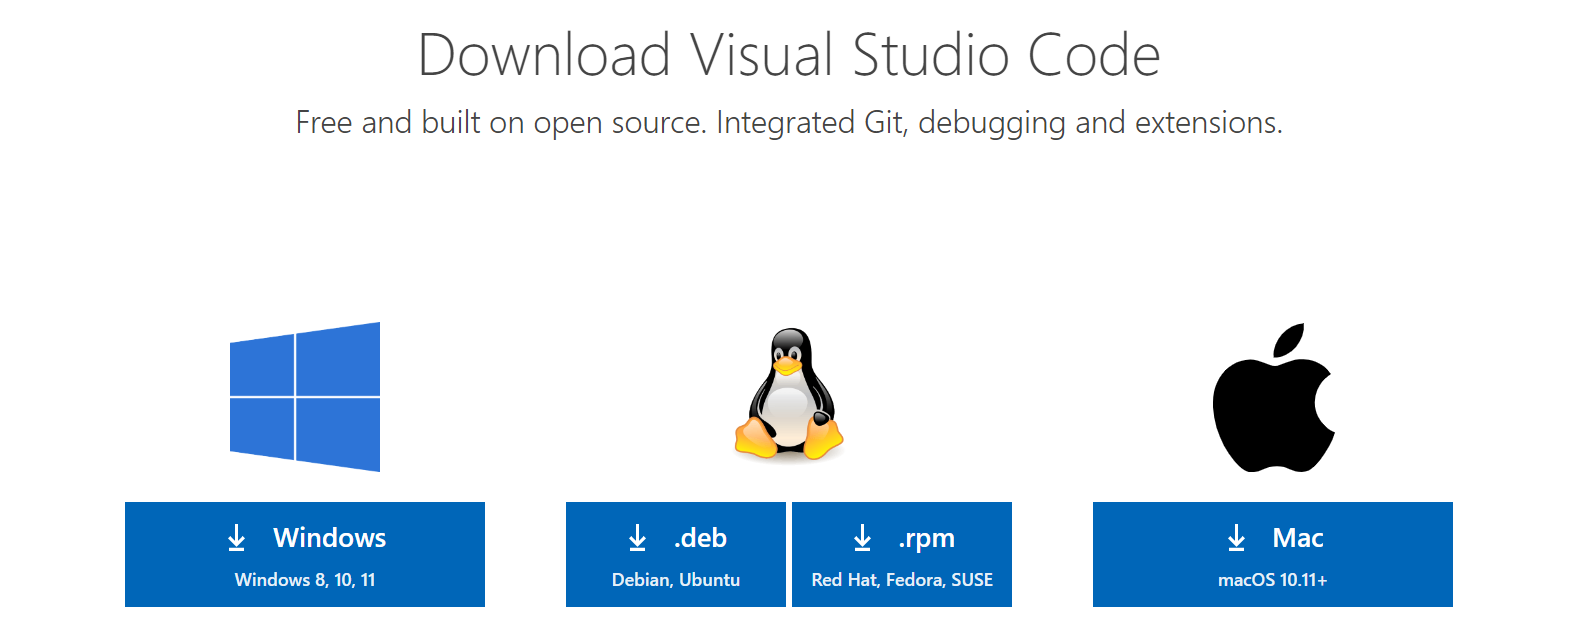
Step 3:- Install VS Code IDE
An Integrated Development Environment (IDE) is a software application that provides a comprehensive set of tools for software development. An IDE typically includes a code editor, a compiler or interpreter, and a debugger that are combined into a single graphical user interface (GUI).
Download: Visual Studio Code
Visual Studio Code is a source code editor developed by Microsoft for Windows, Linux, and macOS. It is a lightweight and powerful code editor that supports a wide range of programming languages and technologies. In addition to a code editor, Visual Studio Code includes features such as debugging, source control, and integrated terminal support.
Launch Visual Studio code
Step 4 :- Install Extensions
We need to install Extensions to support the development. We will install below extensions:
On the left panel of vs code, click on extension icon as highlighted in red in the image below:
![]()
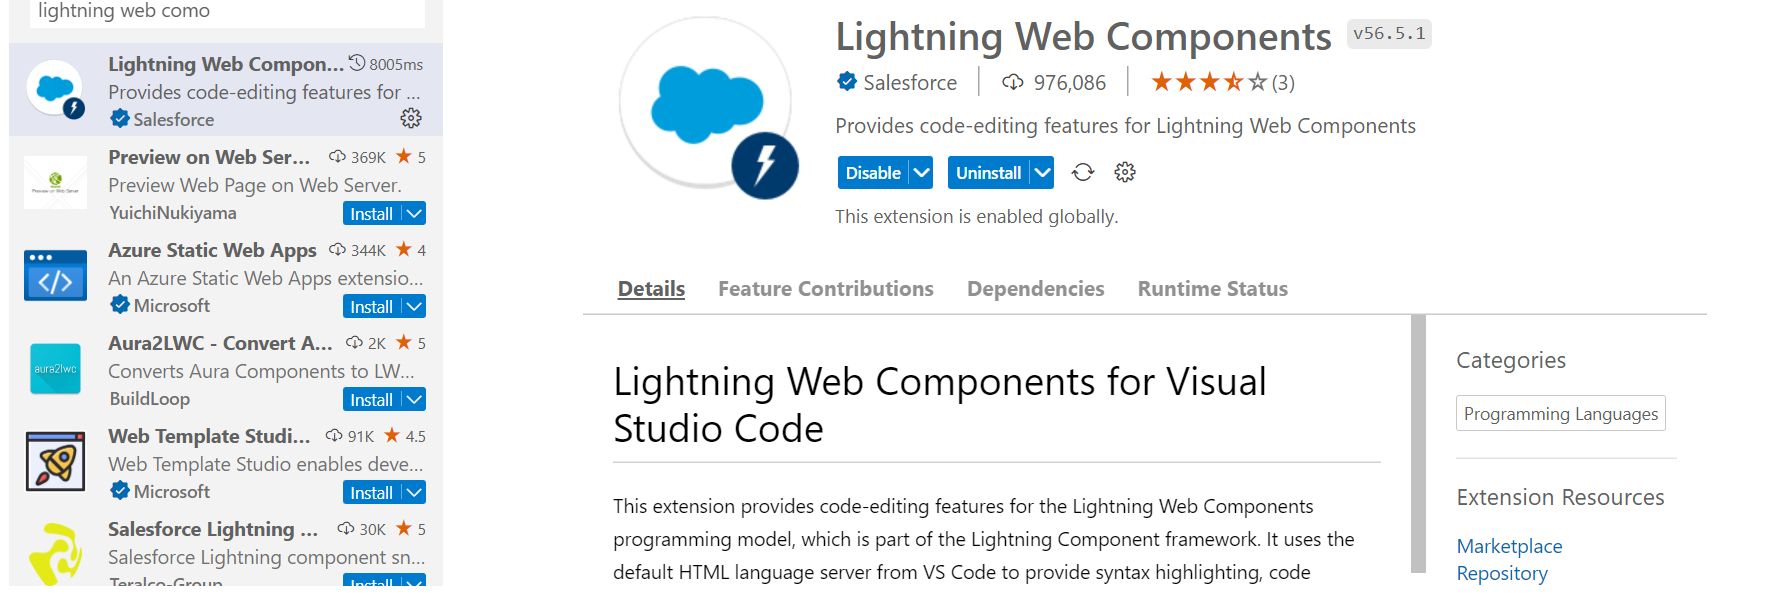
Salesforce Extension Pack:

Install Lightning Web Component Extension
This extension provides code-editing features, syntax highlighting, code completion, and an outline view of your files.
Install Linting
Before you compile, linting detects errors in your code as you are editing. Linting is more than just a spell check as it guides you away from bad patterns and suggests you with the correct ones. To reduce programming errors in Lightning Web Components, Salesforce has developed linting rules.

VS code should be restarted.
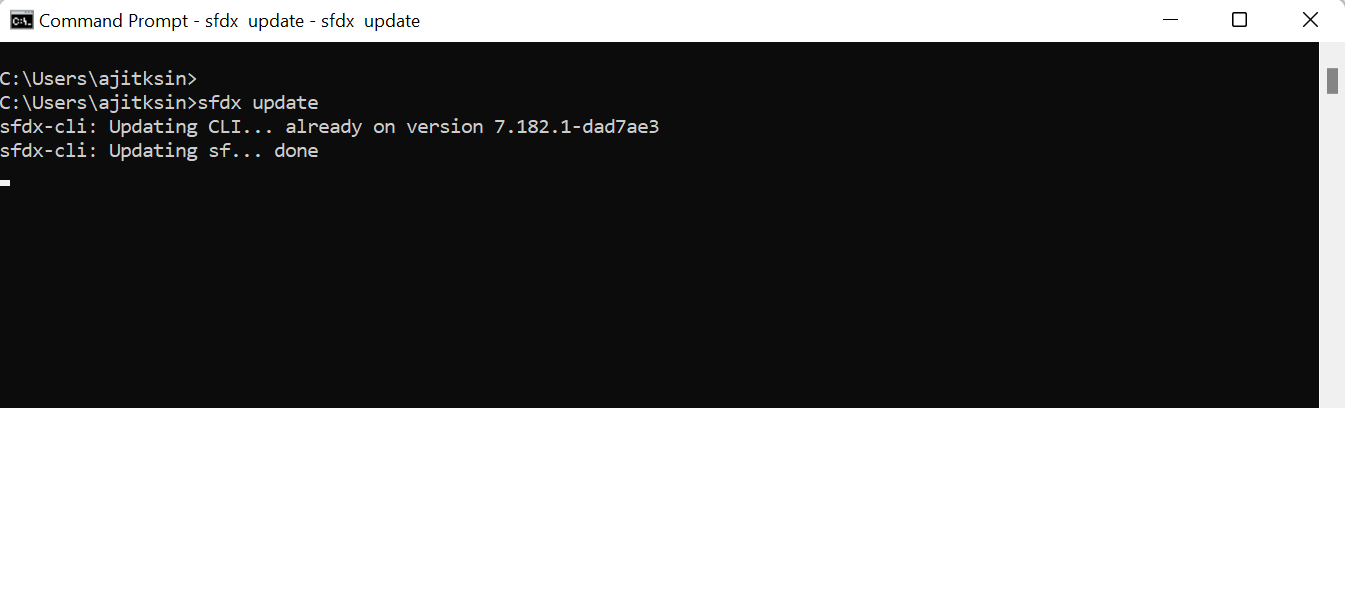
Update Salesforce CLI and its Plugins:-
Run this command “sfdx update” on command prompt to update the cli and its plugins
Now we are good to start with LWC development.
2 thoughts on “Chapter 2 : Install Developer Tools for LWC development”